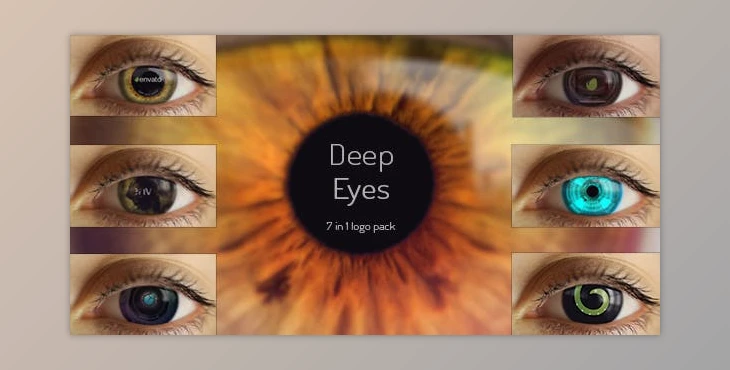
Deep Eyes | 7 in 1 logo pack: An authentic experience was once creating that undertaking to live. But right here it is. The iris used to be changed with a hi-end texture and used to be 95% of the authentic eye. But all of the herbal motions are one hundred percent taken from the actual movement. The best fulfillment that makes me simply proud is the reflection. That’s the FIRST template in Videohive the place you can take a full benefit of the reflection in the eyes. And as you see in the video preview you have so many greater controls. So hope you’ll like it and thank you for touring that page.
How to use controls for eye color, student color, and reflection controls in After Effects?
You can use Deep Eyes | 7 in 1 logo pack.
Where can I download the product?
you can download it for free from here.
Some great features of Deep Eyes | 7 in 1 logo pack:
- 7 variations – clean, ink, smoke, photography, cinema, hi-tech, zoom
- controls for: eye color(borders and center), student color, reflection controls (7 textures, four zones, blur, colors), pores and skin colors,
- ‘Deep Eyes’ works with AE CS5, CS 5.5, CS6, CC, and CC 2014
- Assets are in Quicktime H.264 structure and textures in PNG file format
- NO PLUGINS NEEDED (Just some of CC fxs that come firstly with AE
- Resolution – FHD 1920×1080 23.976 fps,
- duration – 10 seconds
- works with all language AE variations (expression universalized is used)
- PDF Documentation
- rendering time – 12 minutes or less(25 minutes for hi-tech version) (on I7 core quad)
- video tutorial – 21 min – (English version)
How to install
1- Assets Download and Install
This project contains some assets that are not required.
But in order to have the same final result as shown in the preview, you will need to download and install the required files.
2- Startup and Project Navigation
The archive contains files version CC12
Use AE version CC 12 and above to open the project file. Ignore the error message that appears when opening a project
with newer versions of AE, it will just rename the file.
Navigate through all project comps inside the project panel. All folders are named and sorted for your convenience.

- Open “MAIN COMP” to navigate through the timeline and all scenes.
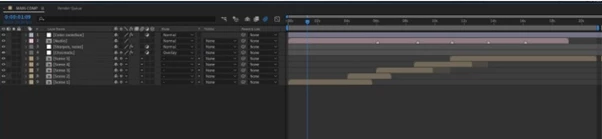
- All colors are controlled with Layer "Controls" inside scene "MAIN COMP". Layers are linked through expressions. If you want to change colors by one, just disable expression or remove effects that color the layer.

Inside each “Scene,” you can find other nested comps with placeholders and text layers. Almost all comps have hidden
layers, press the “shy” button to reveal them.

3- Import and Insert Media
- To import your image or video, go to File > Import > File. Or double-click on the project panel.
- Or simply drag your files into After Effects. Use the “Assets” folder to store and organize all your imported media.

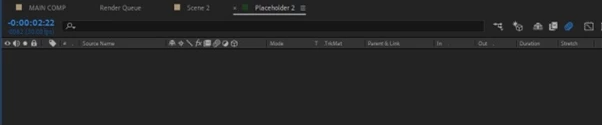
- Next, we need to insert media files in placeholders. Go to the project panel, find the placeholder folder, and open the desired scene. Double-click the selected placeholder computers to open them.
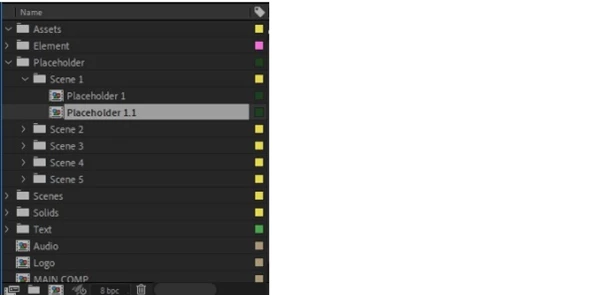
You can also navigate to these placeholder comps through the “Scene” comps, but you will need to open up a few
nested comps before accessing the “Placeholder” comp itself. That’s why the project panel works better here. Use
“Scene” comps to understand which placeholder you’d like to edit.
- Drag your media inside “Placeholder” comps. Scale your media file to fit the composition size. You can also change Placeholder size from composition settings (Ctrl+K).
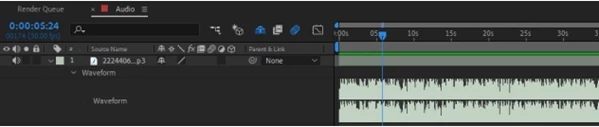
- If you’re using an audio file from my preview, then in order to have the same music arrangement, the audio file should be inserted inside the “Audio” comp. If you have your own audio file then just drag it inside “MAIN COMP”.
4- Edit Text
- You can find “Text” comps in “Scene” comps.
- To edit text layers, open any “Title” or “Text” comp. Double-click on a text layer and type your text. All boxes will fit your text automatically. Select both text and box layers to move them.
5- Edit Colors
- All colors are controlled from the “Controls” layer inside the scene "MAIN COMP". Layers are connected via expressions. If you’d like to change colors by one, simply disable the expression or delete the effects that color the layer.
6- Edit Animations and Timings
- Layers (titles, placeholders, elements) that are animated can be moved in the timeline to accommodate new animation timings.
- If your new animation requires more time inside a comp, press Ctrl+K to edit composition settings. Apply new duration for the comp.
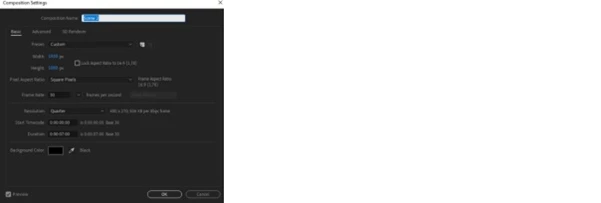
- Your new comp duration should also fit into the “MAIN COMP” scene arrangement. Make sure to edit the “Scene” comps duration by dragging out its endpoints. And cut out comps that are not currently visible to shorten render times.
7- Duplicate Scenes
- In order to duplicate any comp, you will need to manually duplicate each nested comp inside and replace new duplicates with old comps. But this is the way for simple comps that don’t have any nested comps inside or have very few.
- For complex comps like “Scene” or extruded placeholders, we will simply re-import our project file again. Go to File >Import and select the project file. Find and add a new composition to the main project file from the imported one. Make sure to migrate all comps, assets, and solid layers that are associated with the new comp.
8- Render
- From “MAIN COMP” drag the work area to the start and end of the comp (or desired final output duration).
- Press Ctrl+M to add this comp to the render queue.
- Or go to Render > Add to Render Queue Choose output format. In most cases, the optimal output file setting is QuickTime, h.264.
- Press render button
- While it renders, take a second to rate my template, this will really help me immensely!
Download Deep Eyes | 7 in 1 logo pack (Videohive 10147952) - AE Project from the below link now!

Files Password : gfxplugin.com