Downloadable Files
You can download the product VIEWFINDER OVERLAYS for free from the end of this page.
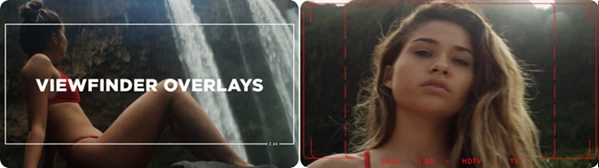
🎬 See Your Frames Differently
Have you ever wanted your footage to have that sense of cinematic look, like you’re viewing it through a camera’s viewfinder? Then the VIEWFINDER OVERLAYS tool is what you need. This tool gives your video and graphical projects a sense of realism and cinematic feel.
🎯 What Are Viewfinder Overlays & Why Use Them?
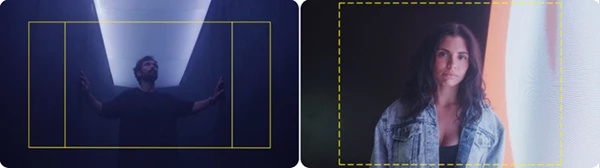
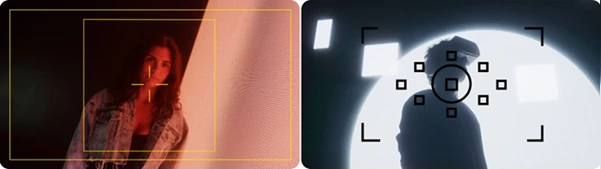
Viewfinder overlays are graphic elements used to simulate the viewing experience through the viewfinder or focus screen of a camera. These overlays are extensively used while filming to frame the shot correctly and focus on the right part of the subject.
Why they matter:
- Better Composition: Frame guides (like 16:9 or 2.35) help you visualize final output formats.
- Cinematic Feel: Adds realism, making your project feel like it was shot on professional gear.
- Storytelling Control: Guides viewer attention using focus screens and crosshairs.
- Consistency: Maintain proper framing across different shots or scenes.
Real-world example:
Imagine editing a short film. By adding a 2.35:1 overlay, you instantly get that widescreen cinema look. Add a focus screen overlay, and suddenly your shot feels like it’s being viewed through a real camera—more immersive and intentional.
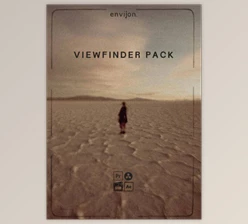
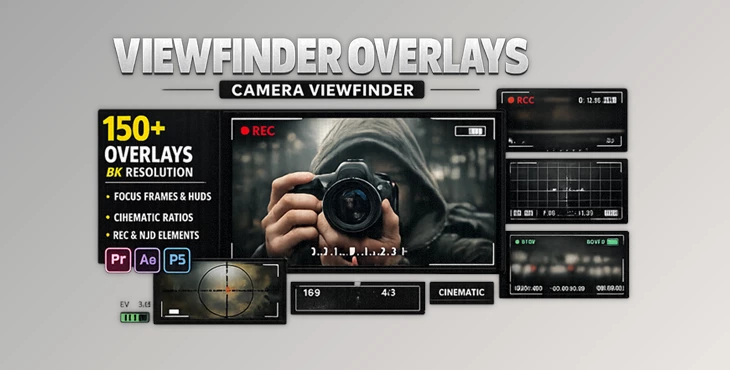
🎥 Meet the Tool: VIEWFINDER OVERLAYS Pack
This professional pack is built from real 35mm ground glass viewfinders, giving you an authentic look without the hassle of recreating it manually. It’s designed for creators who want fast, high-quality results with a simple drag-and-drop workflow.
✨ Features
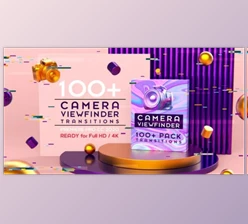
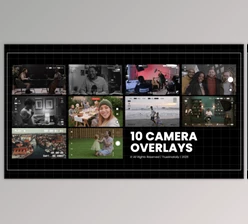
150+ Pre-Keyed PNG Overlays
- Ready to use instantly—no masking or cleanup needed.
Ultra High Resolution (8K – 7680×4320)
- Perfect for professional video, film, and high-end design projects.
Multiple Aspect Ratios
Includes:
- 4:3
- 16:9
- 1.85
- 2.00 / 2:1
- 2.35 / 2.40 / 2.44
- And more
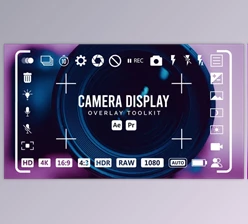
Focus Screen PNG Collection
- 15+ full-frame focus screens inspired by real cameras.
Crosshair & Frame Guides
- Ideal for cinematic composition and storytelling.
Universal Compatibility
- Works with all major editing and design software (Premiere, After Effects, Photoshop, etc.)
Drag & Drop Workflow
- No technical setup—just place it over your footage, and you’re ready.
🎞 Real Impact in Projects
- A YouTube filmmaker adds a 16:9 overlay with crosshairs → instantly looks like a professional shoot.
- A motion designer uses focus screen PNGs → creates a “through-the-lens” storytelling effect.
- A brand video editor uses cinematic ratios → delivers a polished, film-like final product.
💡 Pro Tips for Better Results
- Match Your Aspect Ratio: Always choose an overlay that fits your final output (e.g., 2.35 for cinematic videos).
- Use Subtlety: Lower the opacity slightly to blend overlays naturally into your footage.
- Combine with Color Grading: Viewfinder overlays + film-style color grading = next-level realism.
- Don’t Overuse Crosshairs: Use them when they add meaning, not just decoration.
- Layer Smartly: Place overlays above footage but below UI/text elements for a cleaner look.
🚀 Final Thoughts
VIEWFINDER OVERLAYS is a tool that looks simple but makes a big difference in the visuals within a project. This tool is worth adding to your digital design and editing kits if you want to produce professionally looking and cinematic videos. A small detail, but a big impact when used correctly.

Files Password : gfxplugin.com OR 123456