Downloadable Files
You can download Loop This! Wiggle for free at the bottom of this page.
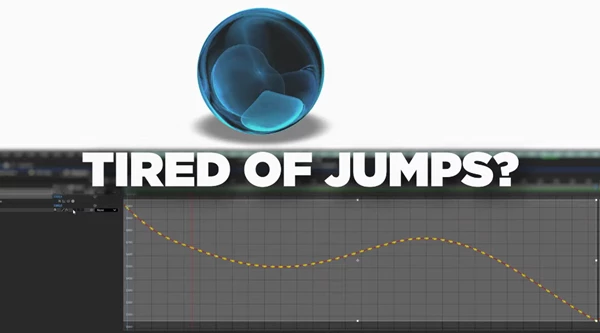
The Wiggle Problem Every After Effects User Knows
If you’ve ever tried to create a perfectly looping wiggle animation in After Effects, you already know the struggle. You make a nice camera shake, a subtle logo drift, or a smooth UI wobble… and it looks great—until the loop point hits. Then the animation suddenly jumps, snaps, or feels slightly off.
And the truth is simple:
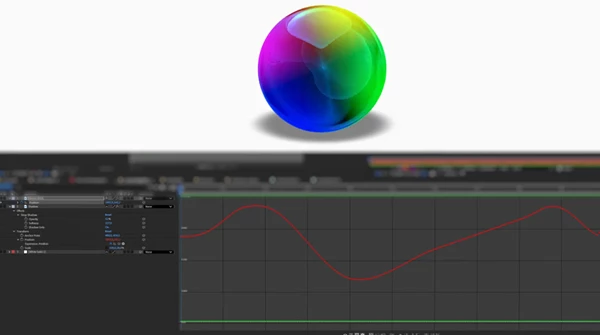
After Effects’ native wiggle() expression was never designed to loop seamlessly. It’s random by nature, and randomness doesn’t naturally return to the same exact state at the end of a loop. That’s why Loop This! Wiggle exists. It gives you the organic, unpredictable feel of wiggle motion—but turns it into a perfectly seamless, fully reproducible loop.
What “Loopable Wiggle” Really Means (In Simple Terms)
A loopable wiggle is a motion that looks random and natural, but repeats perfectly over a chosen time range. So instead of this:
- Start looks great
- Middle looks great
- End breaks the loop
You get:
- Start looks great
- Middle looks great
- End matches the start perfectly
- The animation can loop forever
The key idea: Seeded randomness
Loop This! Wiggle uses seeded randomness, meaning:
- The motion still looks random
- But it becomes deterministic
- Same settings = same result every time
This is a huge improvement because it means you can:
- reproduce animations perfectly
- sync multiple layers using the same seed
- build templates and pipelines with reliable results
- avoid wasting time “fixing the loop” manually
Why this improve your work
Because it removes the biggest weakness of wiggle animation:
the lack of control. With loopable wiggle, you can create motion that is:
- professional
- predictable
- reusable
- seamless
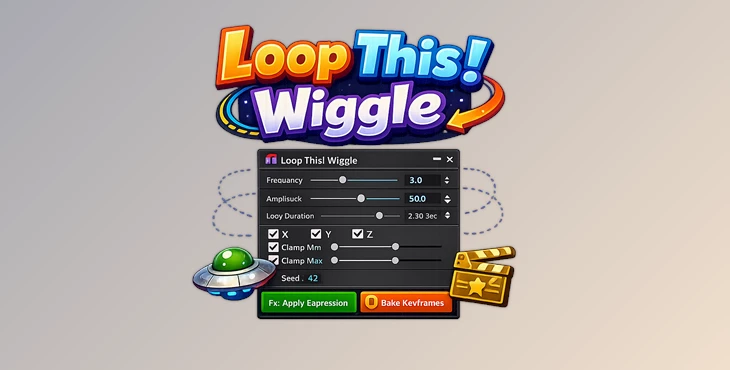
Introducing Loop This! Wiggle — A Professional Wiggle Generator
Loop This! Wiggle is a dedicated tool for After Effects that generates true loopable wiggle motion through either:
- Expressions (real-time evaluation)
- Baked keyframes (permanent animation)
And the best part is:
✅ Both modes produce 100% identical output. So you can design with expressions, then bake later for exporting or delivery—without changing the animation.
This tool is built specifically to solve what native wiggle never could:
perfect loops with full control.
Features
✅ Dockable ExtendScript Panel
Loop This! Wiggle works as a dockable panel inside After Effects.
No floating scripts, no messy workflow—everything stays inside your AE workspace.
✅ Universal Property Support
This tool works with any numeric keyframeable property. If it has a stopwatch icon and accepts numbers, it’s compatible. That includes:
- Position, Scale, Rotation, Opacity
- Effect sliders and controls
- Shape layer properties
- Text animator values
- Puppet Tool pins
- Mask values
- Third-party plugin parameters
And each axis (X, Y, Z) can be enabled or disabled independently.
✅ True Loopable Wiggle with Seeded Randomness
This is the core feature. Unlike After Effects’ native wiggle(), Loop This! Wiggle creates motion that:
- loops perfectly
- is fully deterministic
- is 100% reproducible
No hacks. No sine-wave workarounds. No complex scripts.
✅ Clamp Controls (Per Axis)
Clamping lets you set a maximum and minimum value for each axis. This is extremely useful for professional motion design because it prevents:
- extreme position jumps
- ugly rotation spikes
- scale distortion
- unpredictable animation accidents
With clamping, the motion stays controlled and clean—even when it still feels random.
✅ Precise Start/End Time Range Control
Loop This! Wiggle allows you to define the loop range using:
- SMPTE timecode (HH:MM:SS:FF)
- decimal seconds
You can also quickly set the range using:
- Comp In/Out
- Work Area buttons
This makes it perfect for real production timelines, where loop lengths must match exact durations.
✅ Dual Noise Algorithms
Loop This! Wiggle includes two different noise systems:
1) Multi-Frequency (Perlin Noise) Perlin noise blends multiple frequencies of noise together, creating smooth, organic motion. It’s ideal for:
- natural drifting
- floating motion
- breathing animations
- smoke-like movement
- underwater effects
- cinematic camera shake
2) AE-Style (Random Walk) This mode mimics the behavior of After Effects’ classic wiggle. It generates control points using a Linear Congruential Generator (LCG) and interpolates between them using Catmull-Rom splines. It’s ideal for:
- clean jitter
- UI wiggle
- traditional motion-graphics wiggle
- sharp but smooth shake
✅ Expression or Bake (Same Output)
You can choose:
- Expression mode for flexible, editable motion
- Bake mode to convert motion into keyframes
Both modes are identical in output, which means your workflow becomes much smoother.
✅ Additive Wiggle or Clean Track
You can choose to:
- apply wiggle on top of existing keyframes (Additive)
or - generate motion on a clean property track (Tabula Rasa)
This is extremely useful when you already have a base animation and want to enhance it without destroying your work.
✅ Load Settings from Expression
Loop This! Wiggle can read settings back from previously generated expressions. So you can:
- continue editing
- reuse settings
- Apply the same motion style to new properties
✅ Expression Portability
One of the most powerful features. You can copy an expression generated for Position and paste it onto:
- Scale
- Rotation
- effect sliders
- almost any numeric property
The expression adapts automatically to the property’s dimensions.
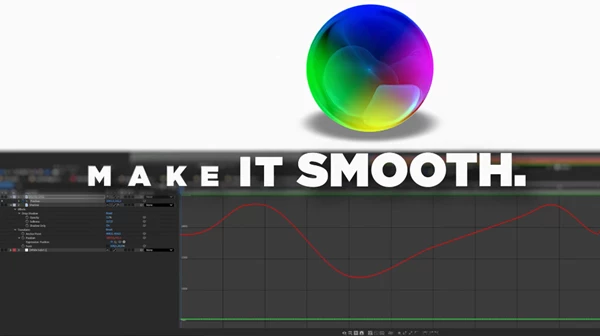
Professional Tips to Make Your Wiggle Look Premium
Even with the best tool, the final result depends on your settings. Here are practical tips that make your motion look more natural and professional.
Keep amplitude controlled
Big amplitude often looks like chaos. For clean motion design:
- keep the movement subtle
- Use clamps as safety limits
- Increase motion slowly
Use Perlin for organic motion
If you want motion that feels alive and smooth, Perlin is usually the best choice. It works perfectly for:
- floating logos
- breathing characters
- subtle drifting UI elements
Use Random Walk for classic wiggle
If you want the “After Effects wiggle vibe,” Random Walk is the better choice. It feels more like traditional wiggle, but with loopability and determinism.
Bake before exporting or handing off
Expressions are great while designing. But baking is often better when:
- You need faster previews
- You’re exporting Lottie
- You’re delivering a project to clients
- You’re sending files to another animator
And since baked and expression output match perfectly, you lose nothing.
Sync multiple layers with the same seed
If you want multiple elements to move in a coordinated way:
- Use the same seed
- use a similar frequency
- vary amplitude slightly
This gives you a clean, intentional motion system instead of chaotic randomness.
Final Thoughts: Random Motion, Finally Under Control
Loop This! Wiggle solves one of the most frustrating limitations in After Effects: Native wiggle motion is random—but it can never loop perfectly. This tool changes everything by offering:
- true loopable wiggle
- seeded randomness
- 100% reproducible results
- expression + baked keyframes with identical output
- full per-axis control
- clamping for professional safety
- two different noise algorithms

Files Password : gfxplugin.com OR 123456