Downloadable Files
You can download Gravis for free from the bottom of this page.
Align and Organize Clips Easily in Premiere Pro
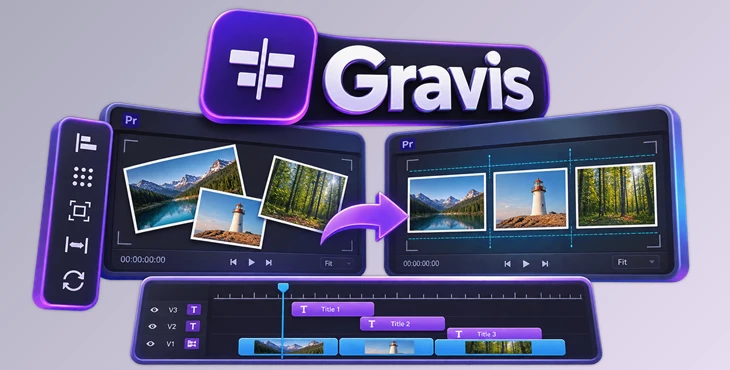
Gravis is a panel for Adobe Premiere Pro that helps you arrange clips in the frame and organize them on the timeline. It includes tools for aligning clips, changing anchor points, adjusting clip sizes, and creating even spacing between elements. You can also use it to stagger titles and line up clips on the timeline.
One important feature of Gravis is that it measures clips based on what you actually see in the frame. This means it considers rotation and cropping when aligning elements. The panel brings these controls together, so you don't need to calculate positions or adjust every clip separately.
Align Clips and Build Better Layouts
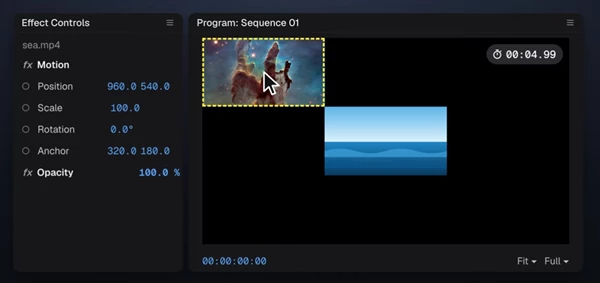
Gravis gives you several ways to align clips in Premiere Pro. You can position them against the frame, align them with other selected clips, or move a group of clips together while keeping the layout inside the frame.
The alignment tools work with the visible edges of each clip, even when the image has been rotated or cropped.
This is helpful when arranging multiple photos, logos, or lower thirds in the same frame. You can place the elements in a clean layout without having to adjust their Position values one by one.
Gravis also supports keyframe-safe alignment, helping you arrange clips that already have animation keyframes.
Anchor Point Control Without Moving the Image
Changing an anchor point in Premiere Pro can also change the position of the image. Gravis handles this differently.
It provides a grid with nine anchor point positions. You can select any position, and Gravis moves the anchor point while keeping the picture in exactly the same place.
The grid also displays the current anchor positions of your selected clips. You can quickly see when different clips have inconsistent anchor points before working on their animations.
Fit, Fill, and Distribute Clips
Gravis includes tools for resizing clips and controlling the space between them.
Fit and Fill
These two options adjust the scale of a clip based on the frame:
Fit: Scales the clip so the entire image stays inside the frame.
Fill: Scales the clip until it completely covers the frame.
Both options work with clips of different shapes and sizes.
Distribute
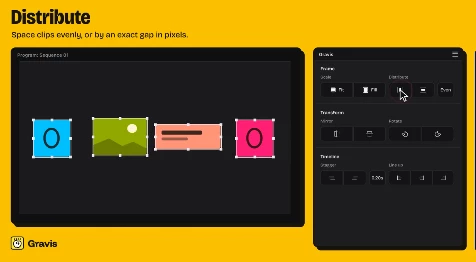
The Distribute tool helps you create equal spacing between multiple clips. It offers two ways to control the layout:
Even distribution: Spaces clips evenly across the area they already occupy.
Exact gap: Lets you enter a specific distance in pixels between clips.
With the exact gap option, Gravis arranges the clips edge to edge using your chosen spacing.
These controls are useful for layouts containing several photos or other visual elements that need consistent spacing.
Mirror and Rotate Clips
Gravis also provides simple controls for changing clip orientation.
You can flip a clip horizontally or vertically. Pressing the same flip button again returns the image to its previous orientation.
For rotation, you can turn clips in 90-degree steps, either clockwise or anticlockwise.
These options are available directly in the Gravis panel alongside its other layout tools.
Organize Clips on the Premiere Pro Timeline
Gravis is not limited to arranging elements inside the video frame. It also includes tools for controlling the timing of clips on the timeline.
Stagger Titles and Captions
The Stagger tool creates a sequence of clips that start at different times.
You can use it with a stack of titles, captions, or lower thirds. Each clip begins after the previous one, based on the time offset you choose.
You can control:
Time offset: Set the delay between clips in seconds.
Direction: Start staggering from the top or bottom of the selected stack.
Linked audio: Audio linked to a clip moves along with its video.
This gives you a way to create a cascading sequence of titles without dragging each clip to a different starting point.
Line Up Clip Starts and Ends
The Line Up tool helps you adjust the timing of several clips together.
It provides three options:
| Option | What it does |
|---|---|
| Align Starts | Moves selected clips to start at the same time. |
| Align Ends | Lines up the ending times of selected clips. |
| Extend to Longest | Extends selected clips so they all finish with the longest one. |
These controls are particularly helpful when working with subtitles and other groups of clips that need consistent timing.
Flexible Panel Layout and Undo Support
Gravis can fit into different Premiere Pro workspace arrangements. You can use it as a narrow column, a regular panel, or a horizontal strip above the timeline.
The panel also offers different layout and theme options.
Another important detail is how Gravis applies its changes. Every adjustment is made as a normal Premiere Pro edit. You can reverse an operation with a single Undo command.

Files Password : gfxplugin.com OR 123456