Downloadable Files
You can download Figaro for free from the bottom of this page.
Build Character and Creature Base Meshes in Blender
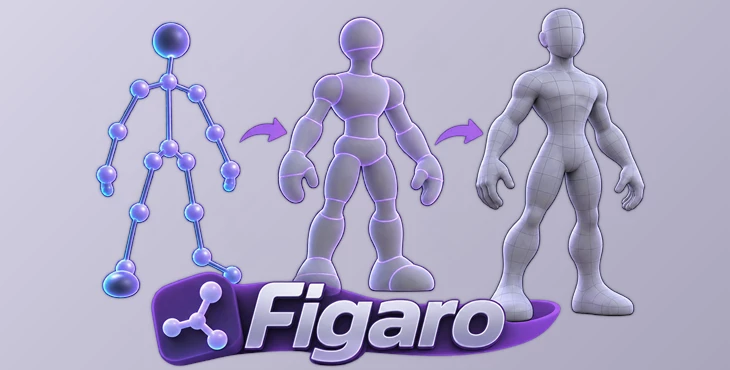
Figaro is a Blender add-on designed to help you create base meshes for characters and creatures using a simple modeling method. You can build 3D shapes with vertices, edges, and faces, then control their volume by adjusting the radius of each vertex.
Figaro uses ideas from ZBrush's ZSpheres and Blender's Skin modifier but adds more options for creating complex shapes. It lets you start with a simple structure and turn it into a 3D form without building every part of the mesh by hand.
How Stick Figure Modeling Works
One of Figaro's main features is Stick Figure Modeling. You start by placing points and connecting them with edges to create the basic structure of your model.
Each vertex has its own radius, which controls the volume around that point. When two vertices are connected, Figaro creates a smooth change in volume by interpolating between their radius values.
For example, you can create a basic structure for a character's arm using connected vertices. By changing their radii, you can make some areas thicker and others thinner.
To change the radius of selected vertices, enter Edit Mode and press Shift + R.
Creating More Complex Shapes with Solid Faces
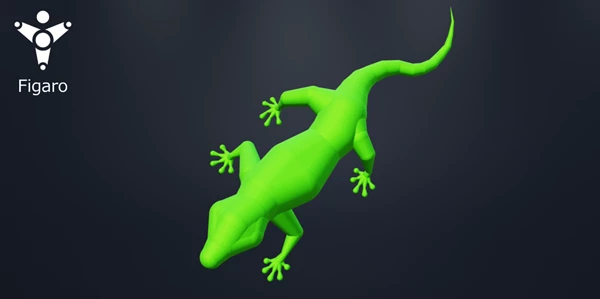
Figaro is not limited to points and edges. It also supports solid faces, giving you more control over the shape of your model.
You can add faces to your structure while keeping the simple modeling process. This is helpful when you need shapes that are more complex than those created with connected edges alone.
Split & Pull
The Split & Pull feature gives you another way to change your model's structure.
When a vertex is connected to only one edge, you can split it into two vertices to create a triangular shape. The direction of this new shape depends on the original edge and your current camera viewing angle.
Select a valid vertex and press Shift + U to use this feature.
You can also activate Split & Pull from the Edit Mode side panel and choose whether the new vertices should form a face or remain connected by separate edges.
Convert Your Base Mesh for Sculpting
After creating the basic shape, you can use Figaro's One-Click Voxelization feature to convert your object into a voxel mesh.
This gives you a mesh that you can use for sculpting in Blender.
The Figaro side panel provides several settings for controlling the conversion:
Voxel Size: Adjust the size of the voxels used to create the mesh.
Adaptivity: Control the adaptivity of the resulting voxel mesh.
Smooth Shading: Give the mesh a smoother surface appearance.
Flat Shading: Display the mesh with a flat-shaded appearance.
Figaro also keeps the original Figaro object hidden when you convert it to a regular mesh or voxel mesh, rather than deleting it.
Additional Geometry Controls
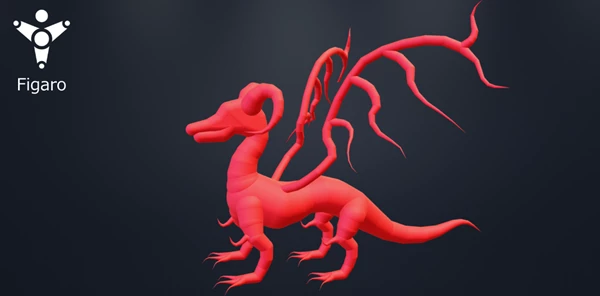
Figaro includes several options for controlling how its generated geometry behaves.
| Option | Function |
|---|---|
| Subdivision | Subdivides edges and faces in the Figaro geometry. |
| Vertex Sharpness | Controls whether neighboring edges follow the underlying edge rather than forming a curve when subdivision is used. |
| Attach Target | Lets you select another object for the Figaro geometry to shrink-wrap around. |
| Manual Apply | Converts the generated geometry non-destructively through a manual apply mode. |
These controls are available through Figaro's geometry modifier and side panel.
Figaro objects also work with Blender's modifier stack, so you can use other Blender modifiers alongside them.
Save and Reuse Shapes with the Template Manager
Figaro includes a Template Manager for working with reusable Figaro objects.
You can create your own templates and manage them directly from the Object Mode side panel.
The Template Manager provides the following options:
Template List: View the default and custom templates.
Instantiate: Create a new instance of a selected template.
Update Template: Replace a saved template with the currently selected Figaro object.
Add New Template: Save the active Figaro object as a new template.
Remove Template: Delete a selected template from the list.
Factory Reset: Restore the original default templates through the add-on preferences.
This feature is helpful when you want to reuse the same basic structures across different character or creature models.

Files Password : gfxplugin.com OR 123456