Downloadable Files
You can download Presets Direct for free from the bottom of this page.
Your Favorite Premiere Pro Effects, Just One Click Away
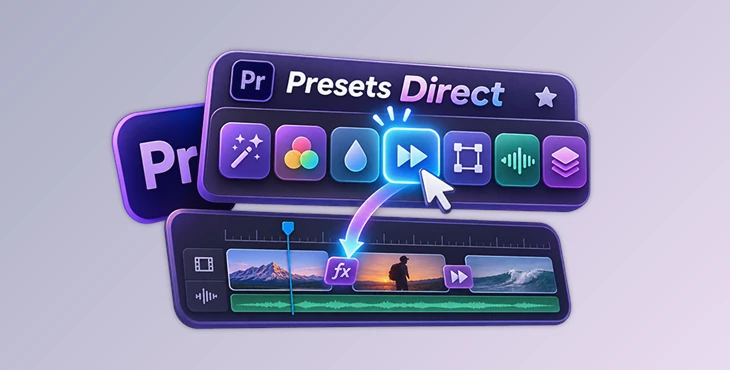
This Premiere Pro extension lets you save your favorite effects, presets, and transitions in custom toolbars. Once saved, you can apply them to selected clips with one click, without searching through the Effects panel every time.
Presets Direct works with video and audio effects, including third-party effects installed in Premiere Pro. It also supports effect groups, custom presets, adjustment layers, and several tools for handling animations and transitions.
Keep Your Favorite Effects One Click Away
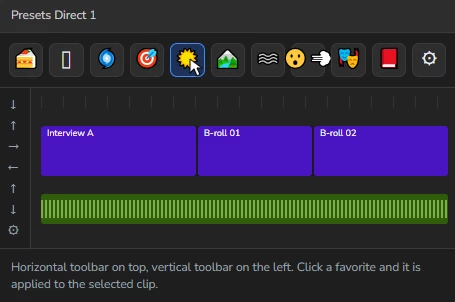
Presets Direct gives you a toolbar where you can keep the effects and transitions you use most often. You can create horizontal or vertical toolbars and organize your favorites based on your editing needs.
There are three ways to add effects to your toolbar:
Search and Add: Search for an effect and save it with its default settings.
From Clip: Select a clip and save its existing effects, including their settings and keyframes. Motion and Opacity are also supported.
Import Presets: Load a
.prfpsetfile and choose the presets you want to add. A preset containing several effects can be saved as one favorite.
You can also combine multiple effects into a single favorite. When you apply that favorite, all its saved effects are added together.
Organize and Customize Your Toolbars
Presets Direct supports three separate panels. You can assign favorites to Panel 1, 2, or 3 to keep different types of effects organized.
For example, you can use one panel for video effects, another for audio effects, and the third for transitions.
You can also rename your favorites, add emojis to identify them, and drag them into your preferred order. A single button lets you reopen all assigned panels.
Apply Effects and Transitions to Your Timeline
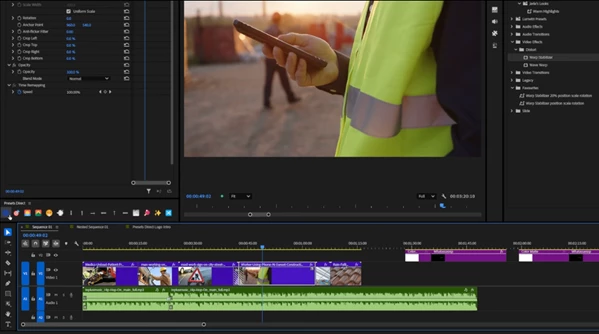
To use a saved favorite, select one or more clips in your Premiere Pro timeline and click its button.
The button changes color to show the result:
Blue: The effect is being applied.
Green: The process is complete.
Red: An error occurred, and a message appears.
Presets Direct also gives you control over how saved keyframes are placed on clips. You can choose to anchor them to the clip's start or end, stretch them across its duration, or keep their original timing.
Transition Controls
Transitions work differently depending on your selection.
When you select two adjacent clips, Presets Direct applies the transition between them.
For a single selected clip, you can choose where the transition appears:
Start: Apply it at the beginning.
Both: Apply it at both ends.
End: Apply it at the end.
You can also set the default transition duration.
Work With Adjustment Layers and Motion Keyframes
Presets Direct includes tools for applying effects through adjustment layers and moving Motion animations to the Transform effect.
Apply Effects on an Adjustment Layer
The adjustment layer button changes where video effects are applied.
When enabled, Presets Direct creates an adjustment layer above the selected clips and applies the effects there, rather than adding them directly to each clip.
You can enable this option for an entire panel or set an individual favorite to always use an adjustment layer.
Move Motion Animations to Transform
The Motion to Transform tool transfers a clip's Motion animation to a Transform effect.
It moves the Position, Scale, and Rotation animation, including keyframes and curves, and then resets the original Motion properties.
When the adjustment layer option is enabled, the Transform effect is placed on an adjustment layer instead.
You can enable Motion to Transform separately for each panel in Settings.
Apply Warp Stabilizer to Speed-Changed Clips
Premiere Pro can have problems applying Warp Stabilizer directly to clips with speed changes.
Presets Direct handles this by nesting the clip before applying Warp Stabilizer.
To use this feature, enable the Nest option in your Warp Stabilizer favorite. When you apply it to a speed-ramped or time-remapped clip, the extension nests the clip first and then applies the effect to the nested sequence.
This removes the need to perform the nesting step yourself.
Export and Share Your Favorite Effects
Presets Direct lets you export your saved favorites as a JSON file.
You can import this file on another computer to bring your toolbar setup with you. You can also share the file with teammates or import a setup created by someone else.
This is helpful when several editors want to use the same collection of frequently used effects and presets.
How to Get Started With Presets Direct
You can test the basic workflow directly inside Premiere Pro:
Open the Presets Direct panel.
Go to Settings and click Load sample favorites.
Select one or more clips in your timeline.
Click a favorite to apply it.
You can then add your own effects, import existing presets, and arrange your toolbars to match your editing workflow.
Presets Direct is designed for Premiere Pro editors who repeatedly use the same effects, transitions, and animation settings. Its main advantage is keeping those tools accessible in one place while providing additional control over how they are applied to timeline clips.

Files Password : gfxplugin.com OR 123456