Downloadable Files
You can download Sequence Compare for free from the bottom of this page.
Track Every Change Between Video Edits
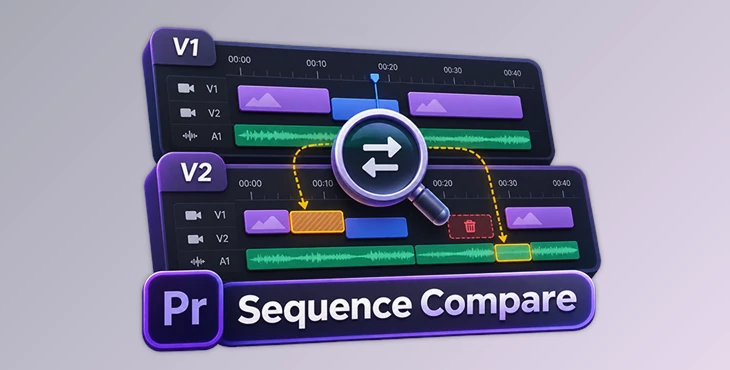
This Premiere Pro extension helps you compare different versions of a video edit and find exactly what has changed. It checks clips, tracks, effects, audio, and sequence settings, then shows the differences in a clear list with timecodes.
Premiere Pro's Comparison View checks video frames, but Sequence Compare checks the timeline. It can find even small changes, like a clip moving by one frame, a change in effect settings, or a shorter audio clip.
Find Every Change Between Two Video Edits
When several editors work on the same project, it can be difficult to see what changed between versions. A clip may have been removed, a transition shortened, or a color setting adjusted.
Sequence Compare reads both sequences and matches their clips, even when they have been moved between tracks or changed through ripple edits.
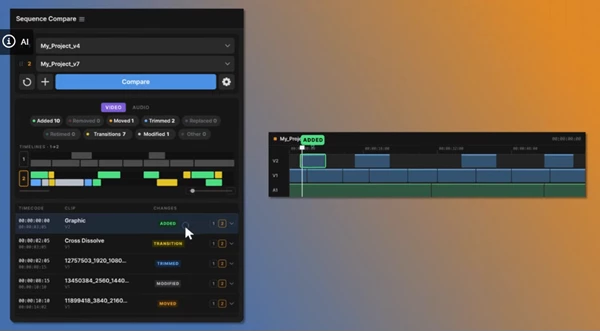
Each difference appears in a list with its timecode, track, clip name, and change type. You can click any result to move the Premiere Pro playhead to that location and select the clip.
The extension only reads your sequences. It does not change clips, effects, or markers.
What Changes Can Sequence Compare Detect?
The extension checks different parts of your timeline, including clip positions, source files, effects, and settings.
Change type | What it detects |
|---|---|
Added | New video, audio, graphics, or adjustment layers |
Removed | Clips deleted from the previous version |
Moved | Clips moved to another time, with the exact frame difference |
Trimmed | Changes to clip in and out points |
Replaced | A different source used in the same position |
Retimed | Changes in playback speed, including reverse playback |
Track | Clips moved to another track |
Modified | Changes to effects, opacity, motion, keyframes, titles, and other parameters |
Sequence Compare also detects changes to transitions, clip names, enabled or disabled clips, nested sequences, and sequence settings such as frame rate, frame size, sample rate, and start timecode.
It understands common editing operations such as ripple, roll, slip, and slide edits. A razor cut that does not change the actual edit will not appear as a difference.
How to Compare Sequences
The comparison process has three main steps:
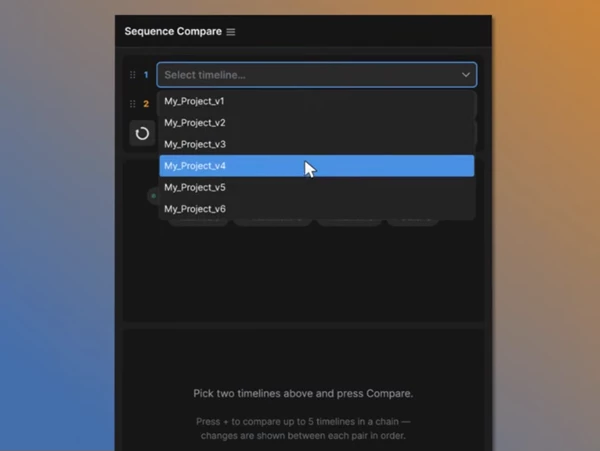
Pick two versions: Select any two sequences from your open Premiere Pro project. You do not need to rename files or export XML data.
Press Compare: The extension reads both timelines and matches their clips to find differences.
Jump to a change: Click a result to move directly to that clip in Premiere Pro.
Each result can show several changes to the same clip. For instance, if a clip was moved and its effects were adjusted, both changes appear in one row.
You can sort the results by timecode, track, clip name, or change type. Neighbouring clips with the same change can also be grouped into a single row. This keeps the list shorter when a ripple edit affects many clips.
The complete comparison list can be exported as a CSV file for reports or project handoffs.
Compare Video and Audio Separately
Sequence Compare has separate views for video and audio. You can switch between them using a control in the panel.
The audio comparison checks music and dialogue clips for changes in position, duration, speed, volume, and pan. It also detects changes to audio effects, fades, and transitions.
Each view has its own change count. This means audio changes will not be mixed with video results, making both lists easier to review.
View Timeline Differences with the Mini-Map
The mini-map gives you a visual overview of both sequences.
It displays two timeline strips side by side, with separate lanes for each track. Clips are colored based on the changes detected.
You can use the mini-map to:
Click a clip to jump to its position in Premiere Pro.
Select a complete track by clicking its track number.
See the old and new positions of a changed clip.
Zoom, scroll, and resize the strips when working with longer timelines.
This view helps you locate changes across a large project without reading every result first.
Customize Your Comparison Settings
You can choose which changes you want to see in the results. For example, if you only want to check clip positions and trims, you can turn off the Modified category. This also stops the tool from checking effects, which can make it faster when working with large timelines.
Other settings include showing or hiding the mini-map, project name bar, and CSV export button. You can also display short tags for different clip types, choose whether neighboring changes are grouped, and resize columns or the mini-map.
The panel remembers your adjusted column widths and mini-map height.
One important detail is that both sequences are opened while the extension reads them. This is necessary because Premiere Pro may return outdated values for sequences that have not been displayed.
Sequence Compare helps you check changes between different versions of your video without changing the original timelines. It shows you what has changed, from small changes in frames to bigger changes in video and audio tracks.

Files Password : gfxplugin.com OR 123456