Downloadable Files
You can download Analog Vision Studio for free from the bottom of this page.
Give Your Photos a Real Film Feel
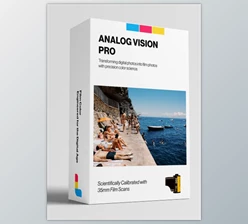
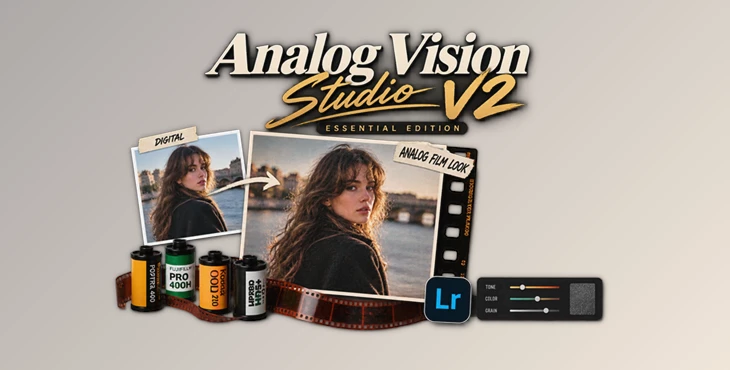
If you love the character of analog photography but want the flexibility of Lightroom, Analog Vision Studio offers a practical way to bring real film color into your digital workflow. Instead of relying on generic filters, the collection is built around film stocks scanned on a Fuji Frontier SP-3000, aiming to reproduce the look of traditional C-prints rather than simply copying the appearance of a raw negative.
The result is a more considered film-emulation workflow, with profiles designed to respond naturally to different exposure levels and photographic situations.
What Makes Film Emulation Different?
Film emulation is about more than adding grain or shifting a few colors. A good emulation changes the underlying color relationships so that the image feels closer to a particular film stock.
Analog Vision Studio uses 3D LUT-based color transformations with thousands of mapped color points. This gives the profiles a much broader color surface than a conventional preset based mainly on Lightroom’s HSL sliders.
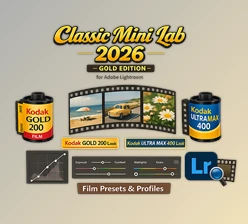
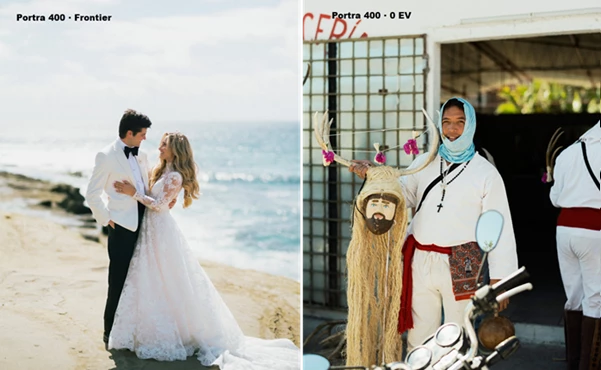
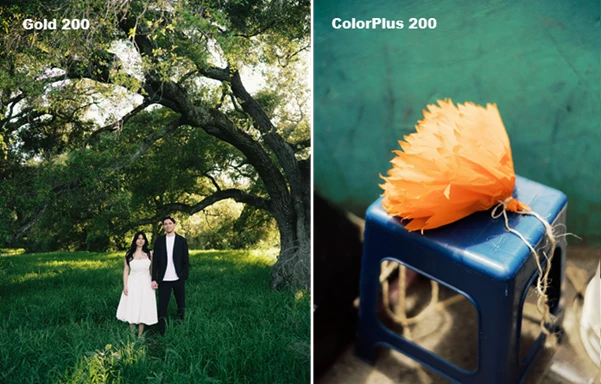
For example, a photographer working with a portrait can choose a Portra 400 profile and adjust its intensity, while someone shooting a colorful travel scene might prefer Gold 200, Ultramax 400, or Velvia 100. The goal is to give each image a recognizable film foundation while keeping the photographer in control.
Meet Analog Vision Studio
Analog Vision Studio is a film-emulation system designed for Lightroom photographers who want measured film color and a flexible finishing workflow.
The collection focuses on reproducing the appearance associated with real Frontier scans. According to the product concept, the Frontier output reflects the traditional C-print process, where a negative is enlarged onto color paper using RA-4 chemistry. This print-based approach is an important part of the look the profiles are designed to recreate.
Features
- 45 film emulation profiles covering 8 different film stocks.
- Each stock is profiled at -1, 0, and +1 EV.
- Both balanced and unbalanced profile versions are included.
- Profiles use 3D LUT color transformations with thousands of mapped color points.
- Compatible with a workflow centered around Lightroom.
- Native Lightroom corrections and luminance-based grain are available through the included workflow presets.
- Workflow Presets are provided for Classic, Cloud, and Mobile workflows.
- AVS Lab Tech is included as a Lightroom Classic plugin.
- The Lab Tech panel provides controls inspired by a Frontier operator’s workflow.
- Image Intelligence provides per-photo scene analysis and adjustable Frontier-style balancing.
- Printer Keys provide CMY midtone-weighted color corrections.
- Master Density allows overall brightness adjustments of up to 2 EV in either direction.
- Tone Adjust includes six gradation options for shaping highlights and shadows.
- Grain includes ISO 100, 200, and 400 characters with luminance masking.
- Lab Fade recreates a faded, washed-out shadow effect associated with thin negatives reaching the scanner’s density limit.
- The profiles are based on calibration using a ColorChecker Digital SG with 140 patches, rather than only the 24-patch ColorChecker Classic.
The Film Stocks Inside
The collection includes eight recognizable stocks:
- Kodak Portra 400
- Kodak Ultramax 400
- Kodak Gold 200
- Kodak Kodacolor 100
- Kodak ColorPlus 200
- Fujifilm Velvia 100
- Fujifilm Pro 400H
- Ilford HP5+
This variety makes the collection useful for very different photographic styles, from portraits and everyday snapshots to landscapes and black-and-white work.
A Simple Workflow
Using the profiles is straightforward.
1. Pick Your Film
Open Lightroom’s Profile Browser and select the film stock and exposure version that best matches your photograph.
2. Adjust the Intensity
The profiles are designed around a 100% starting point, but the Amount slider can be used from 0 to 200 to make the effect more subtle or pronounced.
3. Finish the Image
After choosing the film foundation, use either the native Workflow Presets or the AVS Lab Tech plugin to refine density, color, contrast, gradation, and grain.
This separation between the film profile and the finishing stage makes it easier to build a consistent workflow without forcing every photograph into exactly the same treatment.
Tips for a More Natural Result
Choose the film profile that best suits your photograph rather than the one that looks the best. The profile that’s designed for a particular exposure level in the photograph will offer you a better starting point than trying to fix an unsuitable profile.
Keep the Amount value for the selected film profile under 100 if you want your photographs to have a quieter film character. For editorial, portrait, and documentary work, it’s best to leave the film characteristics at a lower value for a more natural result to the viewer.
When using AVS Lab Tech, treat the controls as finishing tools rather than effects. The density, printer keys, and gradation controls will often do more for your image than any color changes.
Choose the right ISO character and use the luminance-based grain behavior to ensure that the grain looks good in your image.
Each film stock has a personality. Portra 400, Velvia 100, Gold 200, and HP5+ do not work in the same way. Choose a film stock based on the mood and subject of the photograph.
Final Thoughts
Analog Vision Studio takes a very much measurement approach to film emulation. It uses real film scans, multiple exposure-specific profiles, 3D color transformations, and finishing tools inspired by the Frontier workflow.
For those looking for more of the character of film prints in their digital images, there is plenty of room to experiment with the available film profiles and finishing tools. Simply pick a film stock, find the exposure version that works best for your image, adjust the intensity, and then use the finishing tools to get your image just the way you want it for that particular photograph.

Files Password : gfxplugin.com OR 123456