Downloadable Files
You can download Smart Mesh Blend for free from the end of this page.
Blend Separate Meshes into a More Unified Look
Working with multiple mesh objects in Blender can quickly become challenging when their intersections are visually obvious. Hard seams, mismatched normals, and abrupt material transitions can make separate objects feel disconnected, especially when building organic characters, terrain pieces, mechanical components, or experimental shapes.
Smart Mesh Blend provides a Geometry Nodes-based workflow designed to reduce those problems. Instead of manually rebuilding geometry or creating complicated node setups, you can blend normals and materials between nearby objects while keeping the original collection-based workflow flexible.
The result is a faster way to prototype connected forms and preview how separate meshes could look as a more unified object.
What Does Smart Mesh Blend Do?
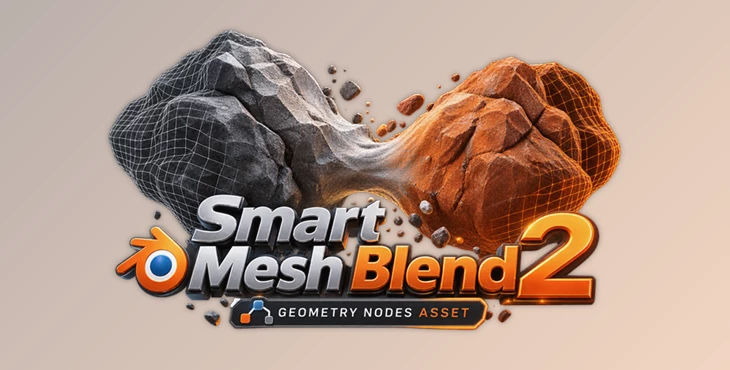
At its core, Smart Mesh Blend is a drag-and-drop Geometry Nodes Collection asset for Blender and Bforartists. It works with collections of mesh objects and creates a blended result based on their proximity.
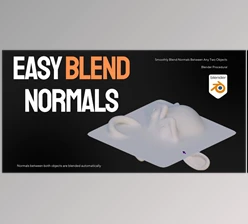
One of its main functions is normal blending. When two meshes come close together or intersect, their shading can reveal an obvious boundary. Smart Mesh Blend provides distance, offset, and blur controls that help soften these transitions and create smoother-looking shading between separate pieces.
Material blending takes the concept further. Materials assigned to different meshes can transition around intersections instead of ending with an immediate hard edge. Material blur controls can make these transitions softer and less noticeable.
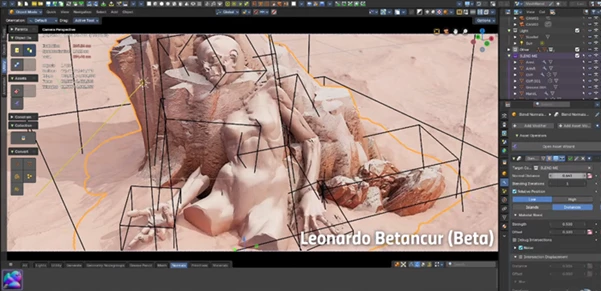
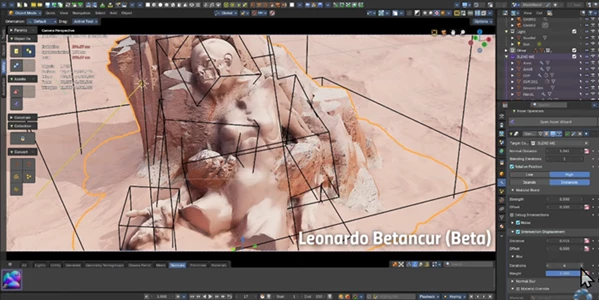
The tool can also displace geometry around intersections, providing a fake SDF-style effect. This can be especially useful when experimenting with blobby characters, connected terrain elements, modular machinery, or other designs where several independent meshes should visually behave more like one form.
Meet Smart Mesh Blend
Smart Mesh Blend is designed to keep your attention on the visual result rather than forcing you to spend your time building and managing a complicated Geometry Nodes network.
The asset can be installed in the Asset Library and then dragged directly from the Asset Browser or Asset Shelf into the 3D View. Once placed, its Setup Wizard helps connect the asset to an existing collection of meshes.
This makes it useful not only for final experimentation but also during early design stages, when you want to test combinations of objects before committing to destructive operations such as booleans, remeshing, or retopology.
Features
Proximity-Based Normal Blending
Blend the normals of the mesh objects within a collection. The distance and offset of the blend can be adjusted.
This can make separate components appear more visually connected to each other without having to merge and rebuild the original meshes.
Material Intersection Blending
Smart Mesh Blend can preserve the existing materials of objects while creating blended transitions around their intersections. You can also use a material override when a unified material treatment is more appropriate.
Material blur controls provide additional flexibility for softening visible seams.
Setup Wizard
Dragging the desired mesh into the Blender viewport launches the Setup Wizard. This wizard allows the user to select the target collection and other important properties of the meshes without having to manually wire the Geometry Nodes editor.
The Setup Wizard can be launched again after adding new meshes or materials to the blend operation.
Flexible Blend Controls
Distance, offset, and blur parameters give you control over how the blending behaves. This is particularly useful when moving between very different projects—a subtle machine-part connection may require completely different settings from a soft organic character.
Intersection Visualization
Being able to view and debug material intersections makes it easier to understand exactly where the blending effect is occurring.
Instead of guessing which parts of a complex collection are interacting, you can inspect the intersections and refine your settings accordingly.
Intersection Displacement
Geometry can be displaced around intersections to produce a fake SDF-style appearance. This is useful for quickly exploring fused, melted, inflated, or naturally connected forms without immediately converting everything into permanently merged geometry.
There is also control for removing intersecting geometry when required.
Mesh Islands and Instances
The setup can iterate across mesh islands or instances at the same time, helping it remain useful with more complex collections rather than being limited to simple two-object setups.
Easy Asset Browser Workflow
Once installed in your asset library, Smart Mesh Blend can be accessed directly from Blender’s Asset Browser or Asset Shelf and dragged into the 3D View.
Append mode is recommended for many workflows, while linking and overrides can be useful when you want to maintain a connection to the source node group.
Bonus Apply Operators
The package also includes useful selection operators such as:
- Apply and Join
- Apply and Remesh
- Apply and Boolean
These provide convenient next steps when you’re ready to move from a flexible blended setup toward more permanent geometry.
Where Can Smart Mesh Blend Be Useful?
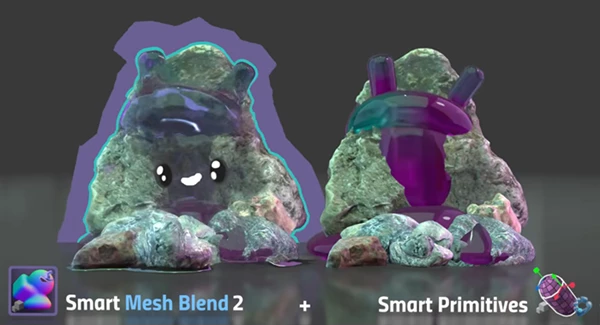
Imagine building a stylized creature from several simple spheres and stretched meshes. Normally, the intersections between those pieces can immediately reveal how the model was assembled. Normal and material blending can soften those boundaries, letting you evaluate the overall silhouette and surface treatment before spending time on retopology.
The same idea works for environments. Rocks, terrain chunks, roots, or other modular pieces can be assembled quickly and visually blended to test a larger composition.
For hard-surface and machine designs, the tool can help prototype combinations of mechanical components and evaluate how different pieces interact before applying booleans or committing to a final mesh structure.
This is where Smart Mesh Blend becomes particularly useful: it provides a visual experimentation stage between simply overlapping objects and permanently rebuilding them.
Tips for Better Results
Start with a Simple Collection
When learning the workflow, begin with a small collection containing only a few meshes. This makes it much easier to understand how blending distance, offset, material intersections, and displacement affect the result.
Once you find settings that work, move on to larger collections.
Keep Blend Distance Under Control
A larger blend distance isn’t automatically better. Excessive blending can make forms look overly soft or cause unrelated nearby components to influence each other.
Start with a smaller distance and gradually increase it until the seams become visually convincing.
Use Blur to Hide Harsh Transitions
When material intersections still appear too sharp, experiment with the material blur settings. A controlled amount of blur can produce a smoother transition while preserving enough definition to keep the objects readable.
Use Lookdev for Material Work
When adjusting material blending, working in Lookdev viewport mode can make the changes easier to evaluate. Enabling bounds can also help when organizing and inspecting the target collection.
Prototype Before Destructive Modeling
One of the most useful ways to approach Smart Mesh Blend is as a prototyping tool.
Build your model from separate objects, then use the Smart Mesh Blend to test different proportions and create a more cohesive model. When you find the proportions and design you’d like, determine if retopology, remeshing, joining, or boolean operations are necessary to create your model.
Bake When You’re Ready
The normals of the blended faces can be baked into the joined mesh by applying the Geometry Nodes modifier.
A Faster Way to Explore Connected Forms
Smart Mesh Blend introduces a more approachable interface for what could otherwise be a more technical route into using Geometry Nodes. The many available tools in this add-on, such as normal blending, material blending, blurring, displacement, debugging, and the Setup Wizard, make it an appropriate tool to quickly explore how different objects can behave as if they were connected.
Whether you are making a character, terrain, machines, or just want to hide the intersection of two meshes, this tool will allow artists to focus on the visuals of their models without too much concern for the final topology.
For those who regularly make their models out of a variety of separate objects, this tool can be helpful within the Blender environment.

Files Password : gfxplugin.com OR 123456