Some great features of Audio Visualization / Music Producer Tool:
Gfx plugin details of Videohive Audio Visualization Music Producer Tool V6 – 24314482
The product is in the After Effects Project category from VIDEOHIVE, for more information about this post you can click on the home page link in the sidebar.
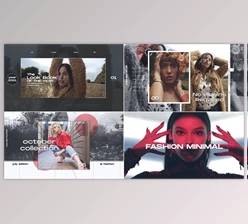
- 62 sets, each group includes 5 Distinct settlements (+5 New Scenes): YouTube, Instagram Post, Instagram Story, IGTV, and Facebook.
- 21 Widget Scenes in 4K resolution (Brand New )
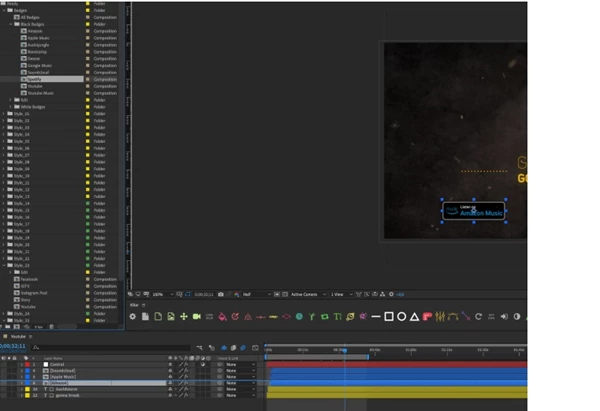
- 51 Labels with popular audio services like Spotify, iTunes, Amazon, Soundcloud, Google Play, YouTube, Deezer, and Bandcamp, along with many others.
- Works with After Effects CC2017 and newer
- No plugins needed
- Frequent updates of new places
- Video Tutorial on how to use
- The music used in the trailer isn't included
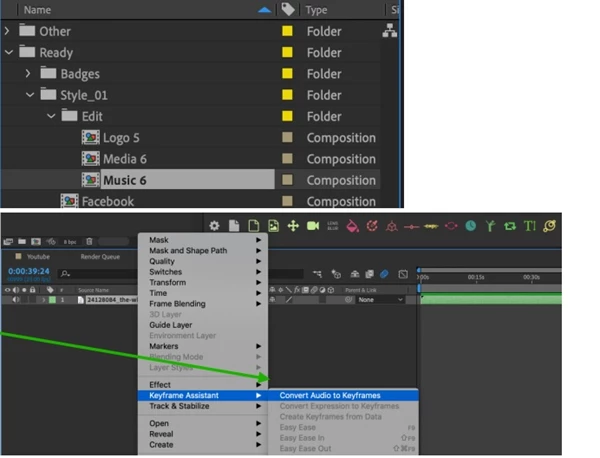
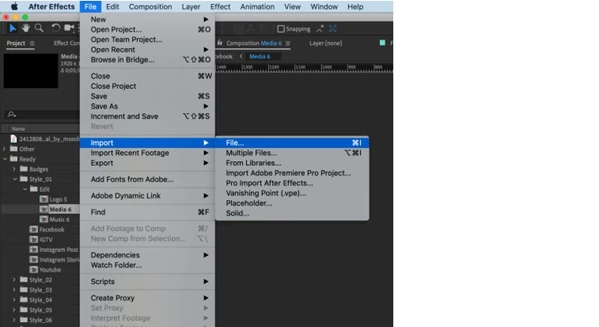
Add Music
Go Edit folder, open “Music” composition, and add your music.
File > Import > File and select audio track.
Drop it into the timeline.
Now we need to delete all other layers except imported audio. Select the layer and press Delete.
Now we need to extract our waveform to keyframes. Right-click on the audio and go to Animation - Keyframe Assistant - Convert Audio to Keyframes.
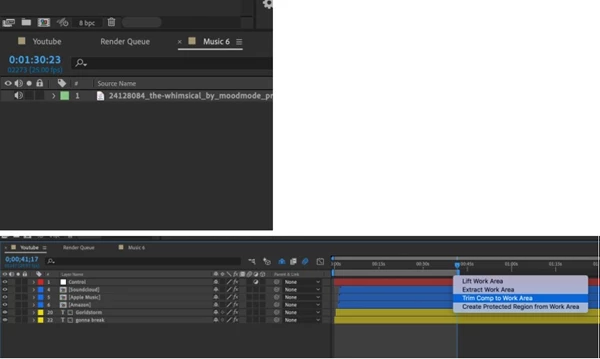
Actually, this is one of the most important steps.
Step 2
Let’s go to the end of the audio track and copy timecode. You can use a “SHIFT” key to stick into the end of the layer
Now we need to go to YouTube Composition put copied timecode into the field and press the “N” letter to set out the composition. Also, you can move in and out of the work area with the mouse.
Go to the Composition - Trim Comp to Work Area. Alternatively, right-click on the work area and press Trim Comp to
Work Area.
Step 3
We are almost done.
Let’s customize the media!
Let’s open the media composition and add your media. You can use an image or video as well!
Don’t forget to fit the image into the composition size.
Now we can see your imported media into YouTube composition. Also, this image appears in all other scenes.
Add media in the background.
You can drag-n-drop selected clips from a folder into the timeline.
Step 4
Edit Text
The last step is to change texts.
All editable text layers are yellow in color. I (it is relevant to all text layers in this template). To change text, double-click on the text layer and type your text.
Customizations
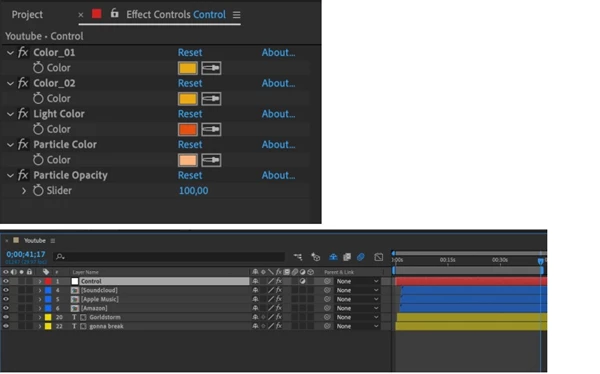
Open “01. Ready” - Scene what you want to use
Select «Control» Layer
Change Colors in the «Effect Control» panel
Customize Badges
Go to “Ready” - “Badges” and replace the badge with another one — just drag-n-drop the badge on the selected withholding “ALT” (option Mac )button. Also, you can add more badges drag-n-drop a new one into the timeline, and change the scale and
position.
Download Videohive Audio Visualization Music Producer Tool V6 – 24314482 from the below link now!
 Download Audio Visualization Music Producer Tool V5 (Videohive 24314482).part2.rar (Size: 1.0 GB - Date: 5/5/2023 12:42:25 PM)
- Download Audio Visualization Music Producer Tool V5 (Videohive 24314482).part3.rar (Size: 157.9 MB - Date: 5/5/2023 12:42:18 PM)
- Audio Visualization Music Producer Tool V6 VH-24314482.rar (Size: 1.2 GB - Date: 5/5/2023 12:42:14 PM)
- Download Audio Visualization Music Producer Tool V5 (Videohive 24314482).part1.rar (Size: 1.0 GB - Date: 5/5/2023 12:42:04 PM)
Files Password : gfxplugin.com